 |
 |
|
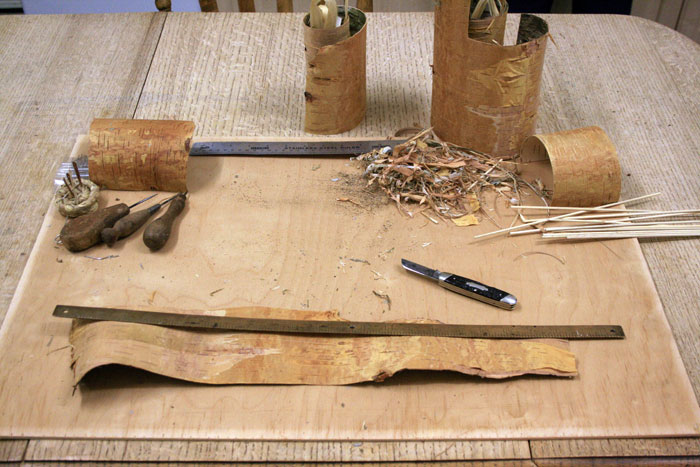
It is
preferable to use bark stripped from fresh logs for these
kinds of crafts; the bark is much more durable and flexible.
I personally harvest my bark in the summer months from
naturally fallen trees or timber left by forestry
operations. You may need to inspect several logs before
finding suitable bark as the quality does vary. Many trees
produce bark that is just too thin. The bark I am using in
this article is about 1mm thick; which is good enough.
Just
out of interest, it is a myth that stripping the outer bark
from a living Birch tree will kill it. As long as the inner
bark is not damaged the tree will continue to live. The
Birch will actually re-grow its outer bark over the course
of a few years. Although stripping bark in this way is
possible and commonly practiced in more Northern countries;
it would most certainly be viewed as vandalism here in the
UK.
|
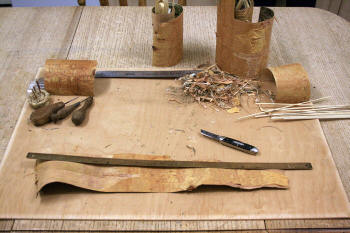
Cut a
long strip of bark ensuring the width is even along the
length. Have it long enough so that when
rolled up it will be double thickness. This will give extra strength to
your container and the bark will also be less likely to split when sewing
the container together. |
 |
 |
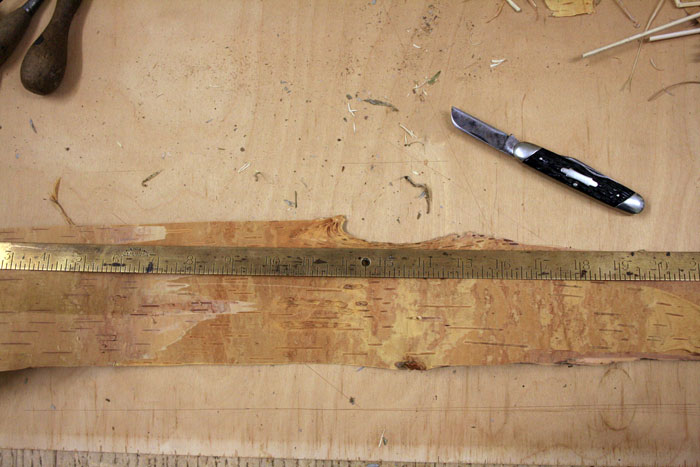
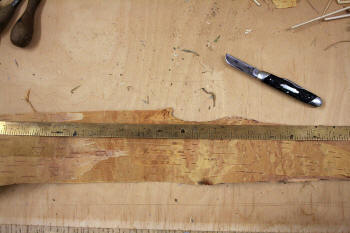
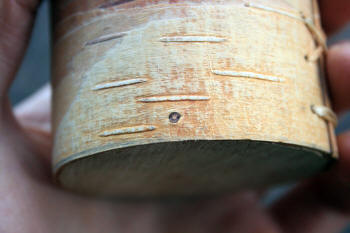
| Remove any loose material from the outside of the bark.
Pulling your thumb across the surface usually flakes off loose material
neatly. |
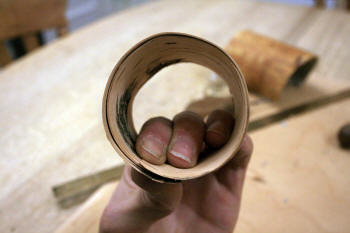
Roll the bark up. I have chosen to have the outside of the
bark on the inside of the container. You can see that I have
rolled it up far enough to have the bark double thickness...
Roll it tightly so
there are no gaps between the two layers of bark. |
 |
 |
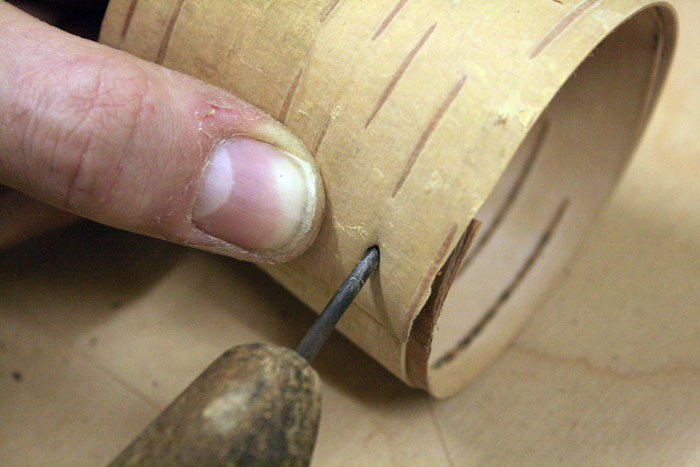
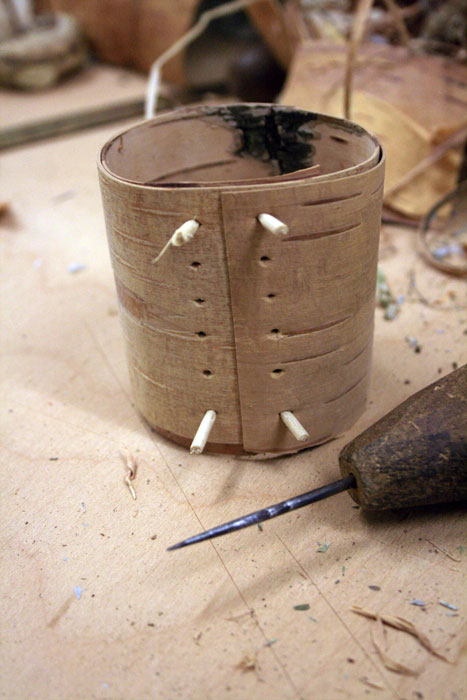
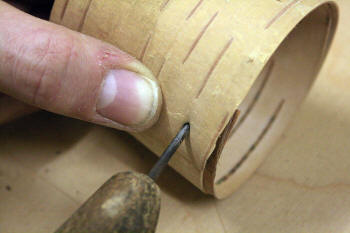
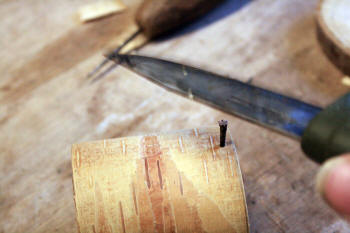
| Hold the bark firmly in place.
Using an Awl (you could
use a sharp nail) make a couple of holes either side of the seam at the
top. You can then insert a couple of thin wooden pegs to hold the bark
temporarily together. The pegs also help to keep the holes open. |
Continue to make a series of holes down the front of the
container. |
 |
 |
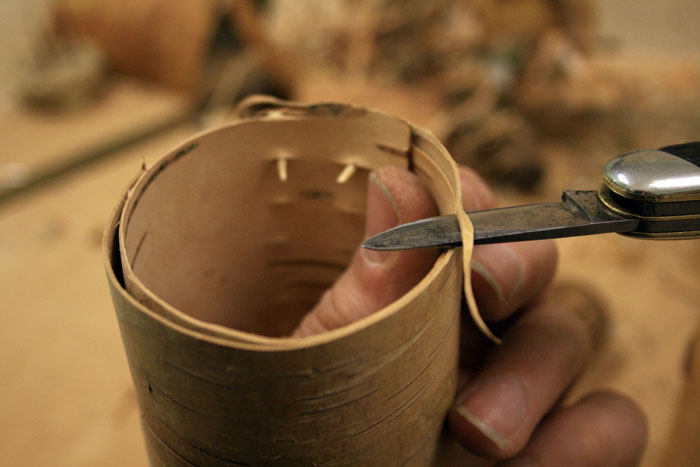
| If the top and bottom of the container are not level then
you can trim them now. |
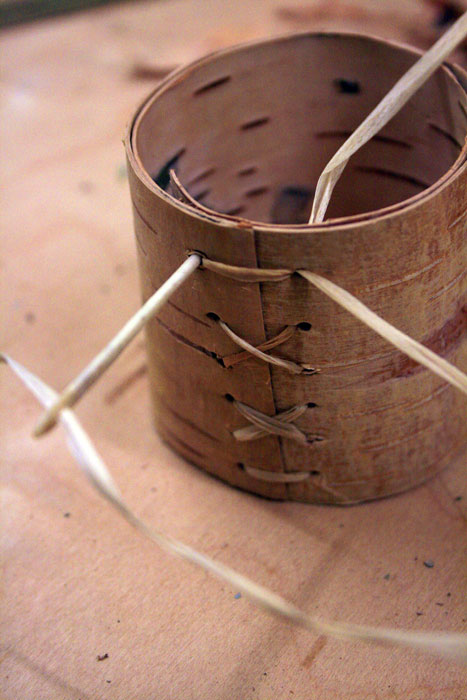
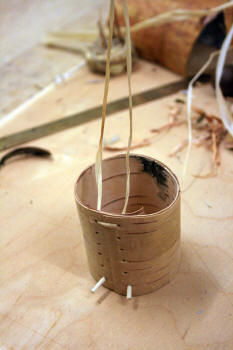
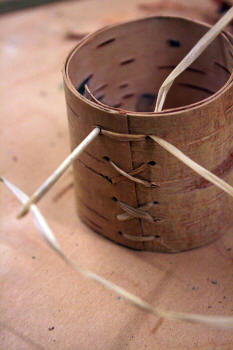
Time to sew the container up...
I am using Lime bark
fibres but you could use any type of thin cordage material; Spruce roots,
Willow bark etc.
If the end of the binding material is pointed and not frayed then you
may not need a needle to do all the stitching. This is often the case when
using Spruce roots |
 |
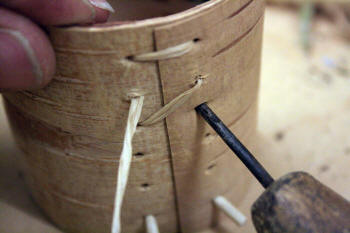 |
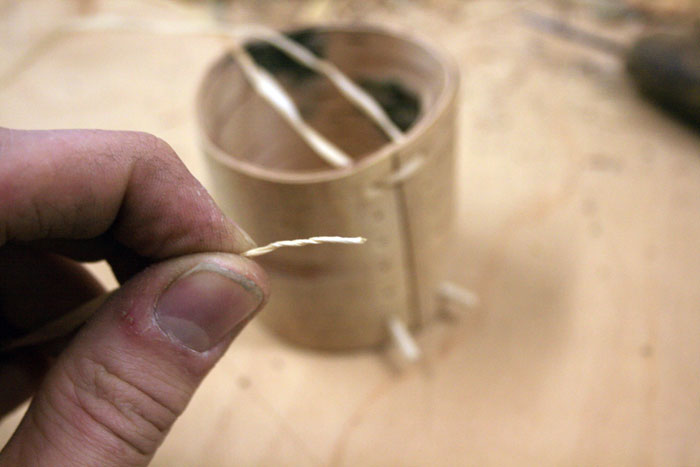
| Thread the binding material through the first two holes as
shown... |
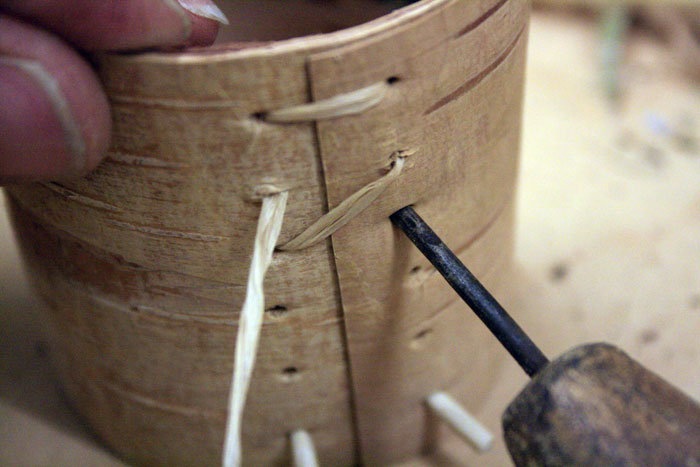
Sew down the container. I used a cross stitch but it's up
to you what stitching method you use... as long as it holds together
tightly. The holes that you made close up again quickly so
you may need to re-open them with the Awl. |
 |
 |
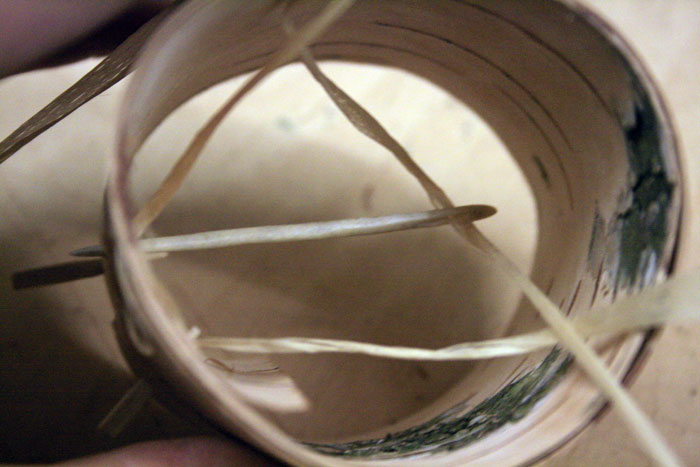
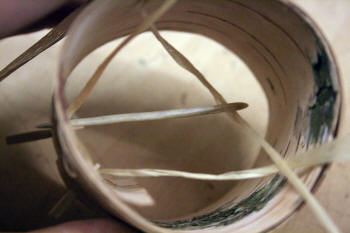
| I use a home made sewing needle to sew the middle holes.
If you are making a tall thin container it will be hard to stitch the
middle holes. You could use a curved needle to reach down the container in
that situation. Or it is possible to sew the whole container up loosely
and then tighten it up from the bottom; just like loosely threading new
shoe laces onto a shoe and then systematically pulling on
the lace at different points to tighten it up from the
bottom upwards, I have used this technique to stitch a tall
thin bark arrow quiver. |
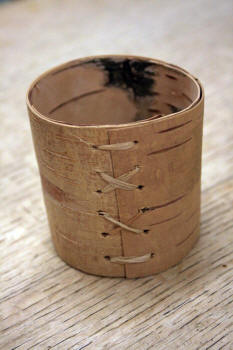
End up with both ends on the inside and then tie it off. |
 |
 |
| |
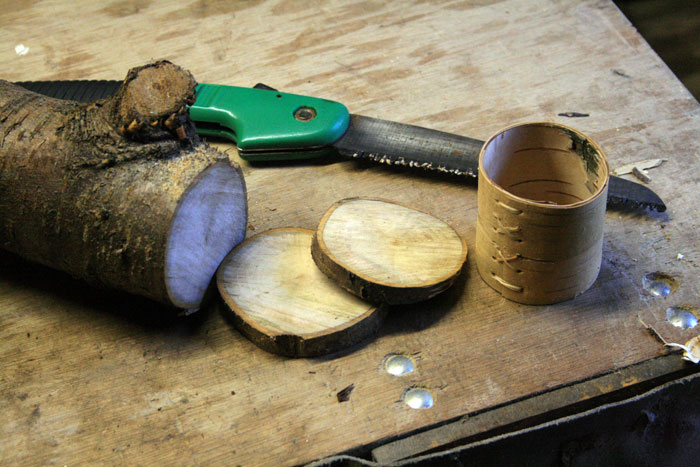
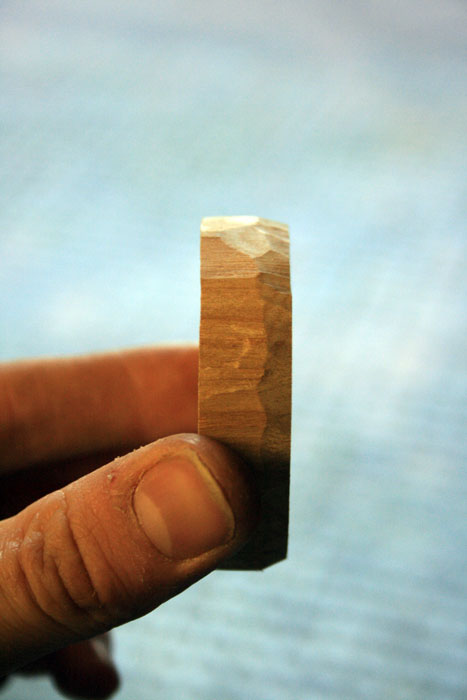
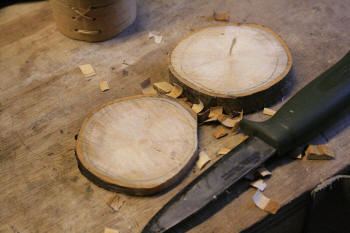
Cut two disks from seasoned wood. (If the wood is fresh
then it will shrink) I cut the wood
slightly thicker for the piece that will become the lid. |
 |
 |
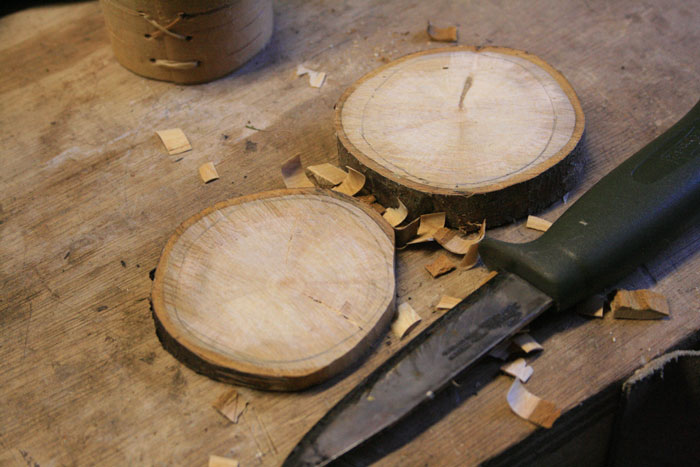
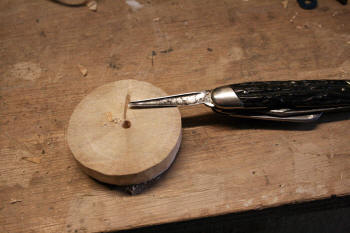
| Draw around the container onto the wood and carve them to
size until they fit snugly. |
For the lid I taper the inner edge slightly
for an easier fit. |
| |
|
 |
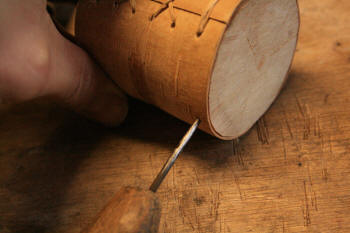 |
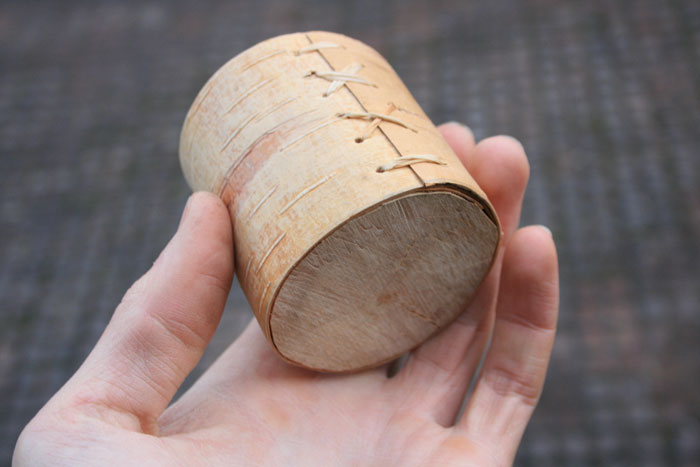
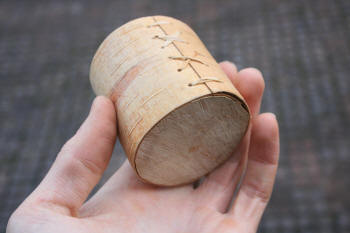
| Tap the base into place,
it should be a tight fit so that it holds well. |
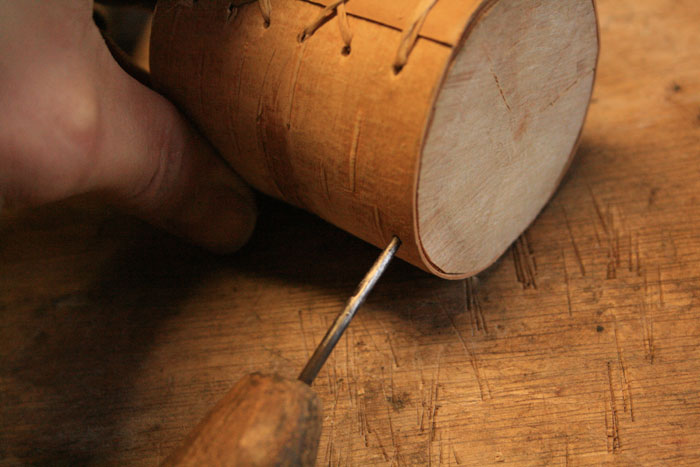
Here is one way you can secure the base some more... Using the Awl make a few holes around the sides of the
base. |
 |
 |
|
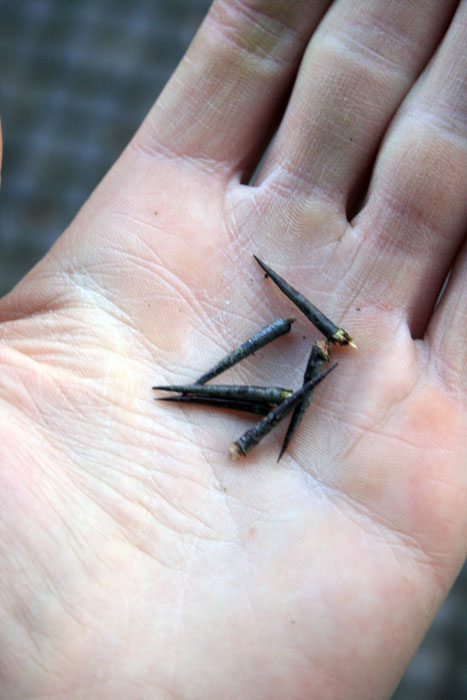
tap thorns into the holes like
nails; Hawthorns or Blackthorns are a good choice. |
 |
 |
| Trim thorns flush with surface. |
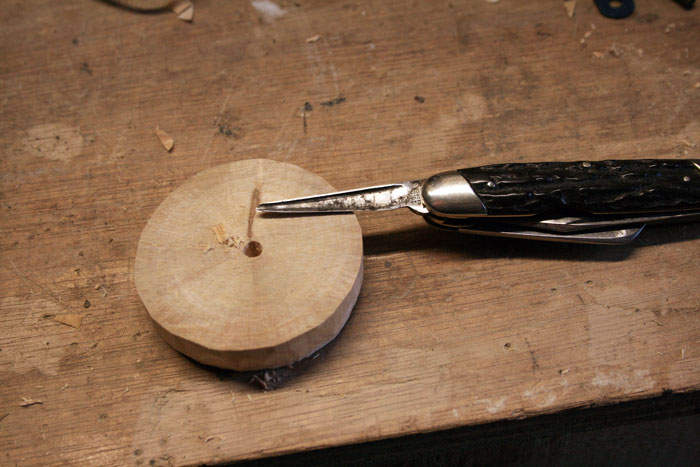
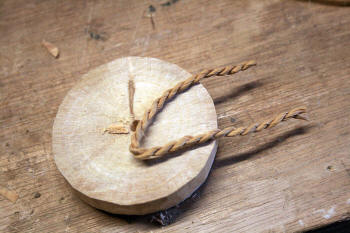
Make a hole in the lid. |
 |
 |
|
Make a small piece of cordage or cut a strip of leather for
the pull loop. |
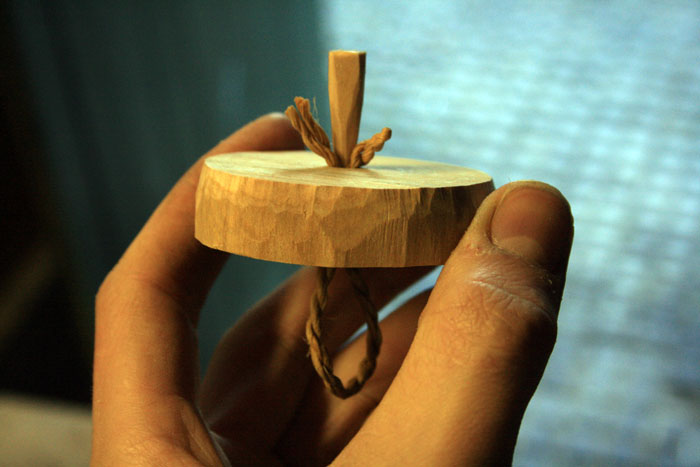
Push the cordage through the hole and insert a small
wooden peg. |
 |
 |
| Bang the peg in so that it permanently secures the cordage
in place. (Be careful not to hammer the peg so much that it splits the
wood.) |
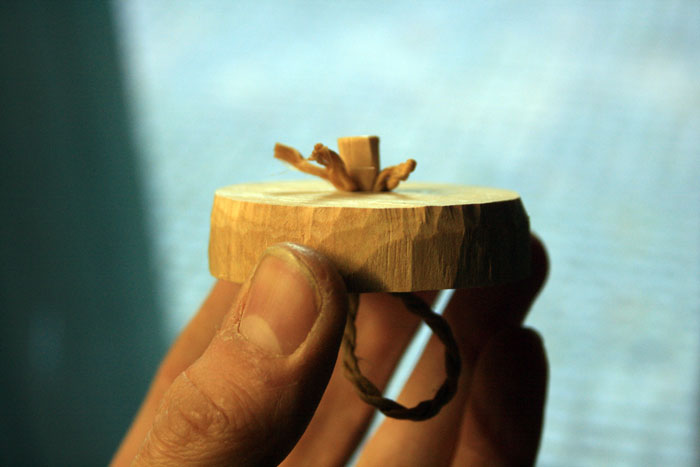
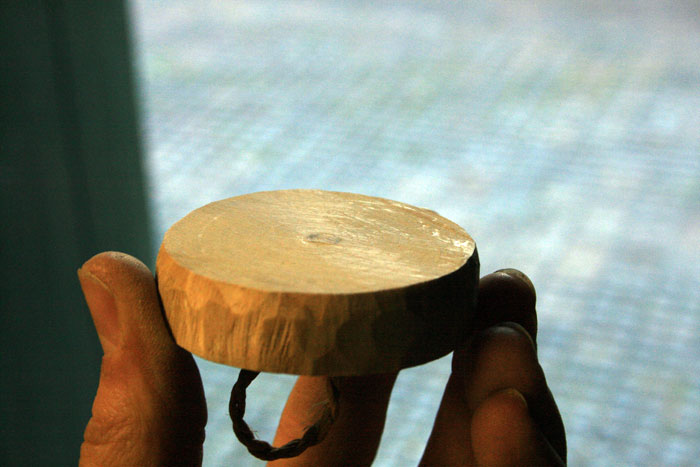
Trim it off flush.
Another way to secure the loop
could be to tie the cord into a knot underneath and on top.
|
 |
|
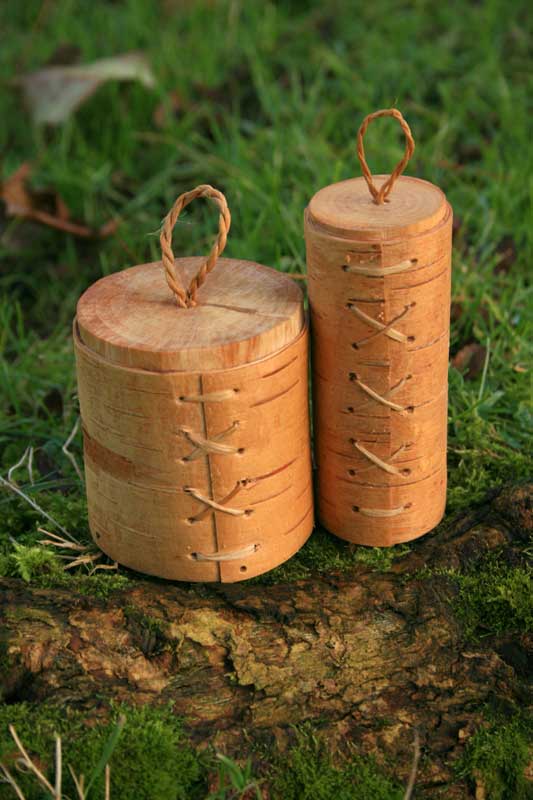
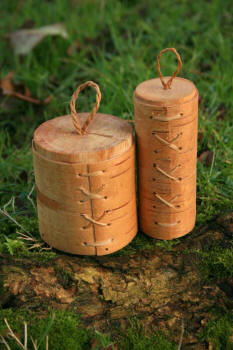
The assembled pots... |
| |
|
| |
|