|
Carving out the
bowl:
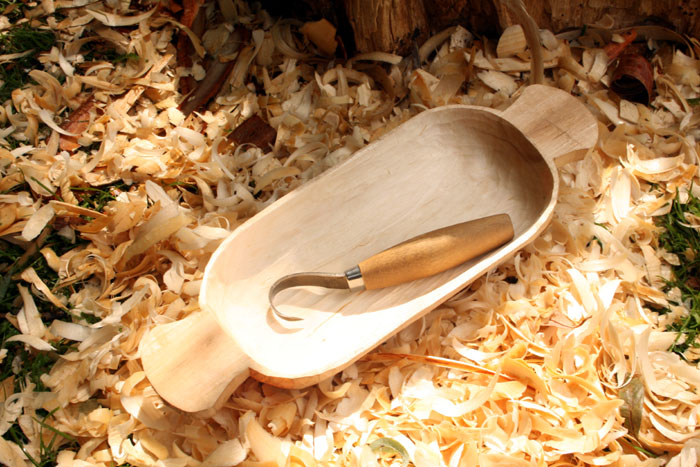
Using a
spoon knife, start out by carving across the grain. It's best not to
carve too close to the edges until the majority of the wood has been
removed. The first cuts can be tricky, but once you have a purchase
on the wood it becomes easier for the cutting edge to bite. Carve
with a sweeping action to scoop out the wood. You can use any part
of the cutting edge to tackle tricky areas.
This job can
be hard on the hands. If it feels like you may develop blisters,
wear a pair of leather gloves.
Try to carve
the dish so that the walls are an even thickness, gauge where you
need to take more wood off using your fingers like callipers. It can
be wise to leave the wood a little thicker near to the handles. If
thick wood suddenly meets thin wood it is likely to crack at this
point when the wood dries.
Finishing off:
When the carving is complete, place the dish inside an open bag
(paper bag is best) for as long as it takes to dry out. The bag will
slow down the rate of drying which should prevent the wood from
splitting. I like to put the bag on its side so that any evaporation
does not quickly just go straight up and away.
Once dry, you
can sand the wood smooth if you like. Start with coarse grade paper
and finish with fine grade. Alternatively, you could make a really
clean job of the carving; even tool marks have quite an attractive
quality.
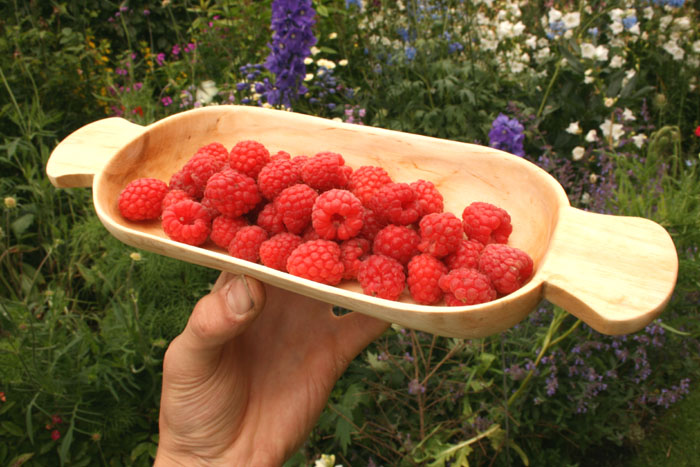
You can also
wipe the wood over with some food-grade oil to bring out the natural
colour and enhance to grain. I used vegetable oil but mineral oil is
preferable.
Happy carving!
|