 |
| Home | How-to Articles | Jon's eBooks & Books | Blog | Gallery | About Jon | Contact | Links |
|
||||||||||||||||||||||||||
|
|
| Home | How-to Articles | Jon's eBooks & Books | Blog | Gallery | About Jon | Contact | Links |
|
||||||||||||||||||||||||||
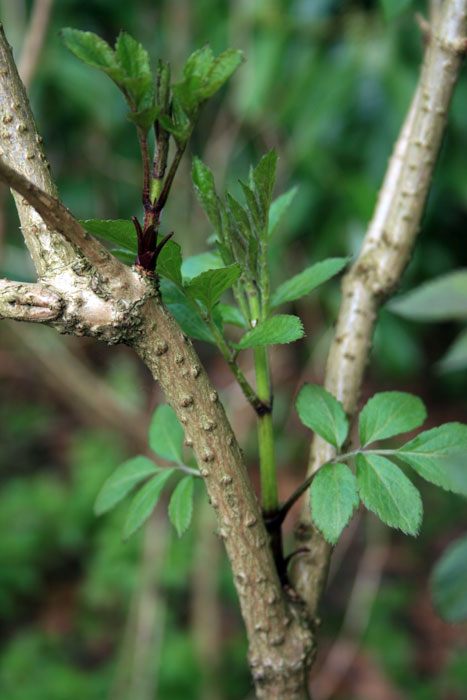
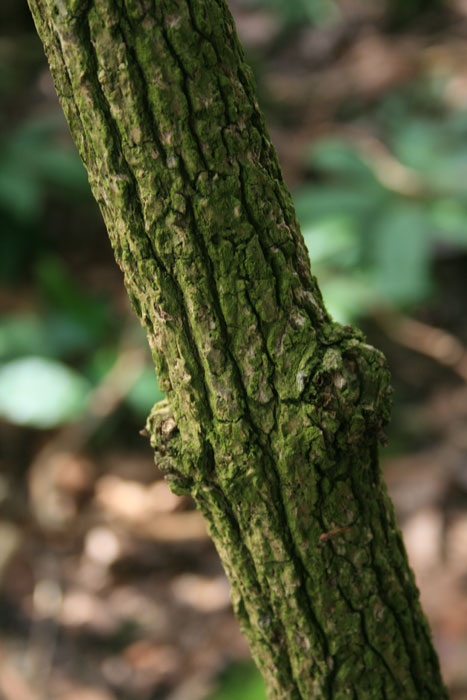
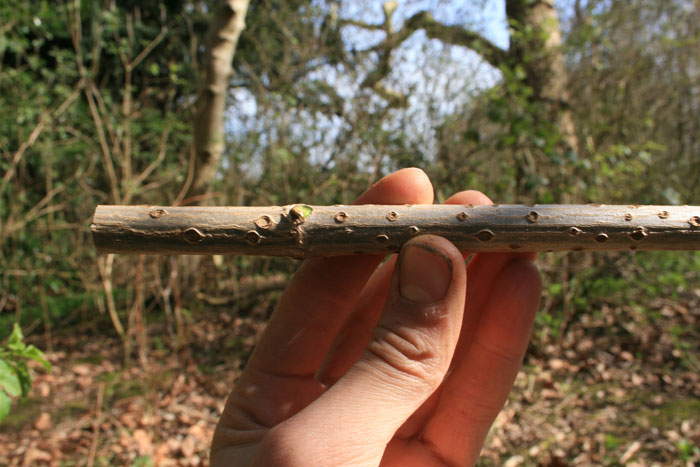
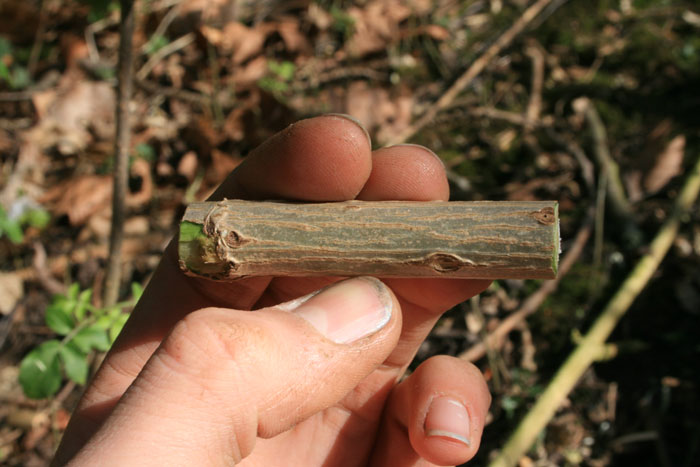
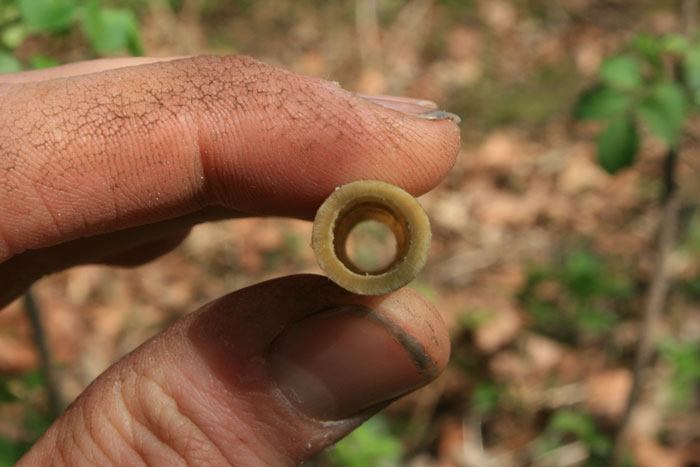
| Cut a small branch that is already the correct width. You
can see how thick this piece is in comparison to my fingers. It is important that the wood has a large pith in the centre as this allows plenty of room for the sound chamber, however you will need the layer of wood around the pith to be thick enough so that it is not too fragile. A shoot of wood about 2 years old is usually good. You may have to cut several branches before you find the perfect piece. |
 |
|
 |
||
|
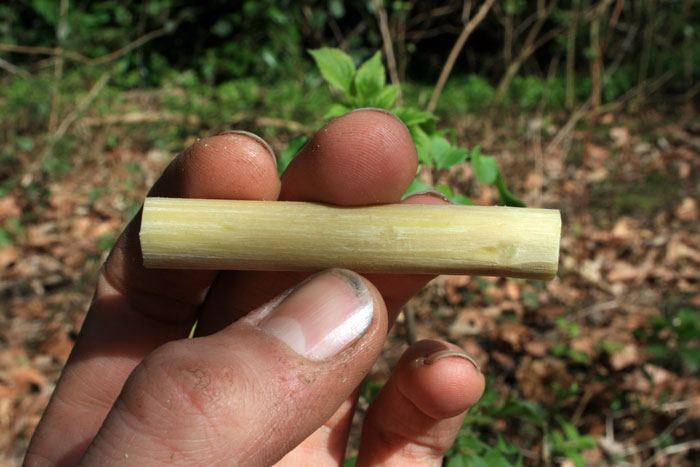
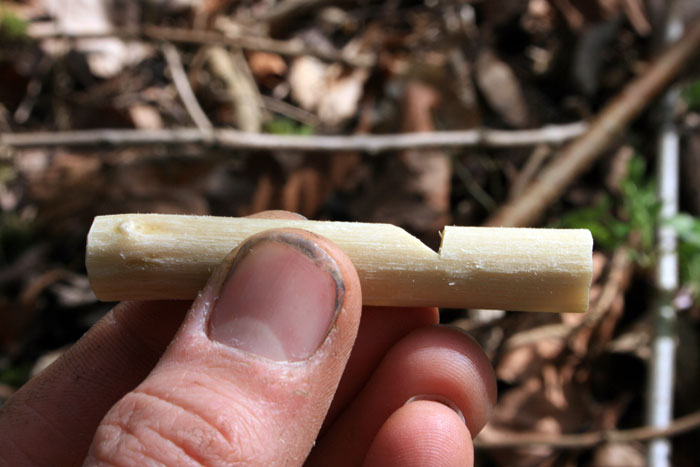
Cut a finger length section from your wood. |
 |
|
|
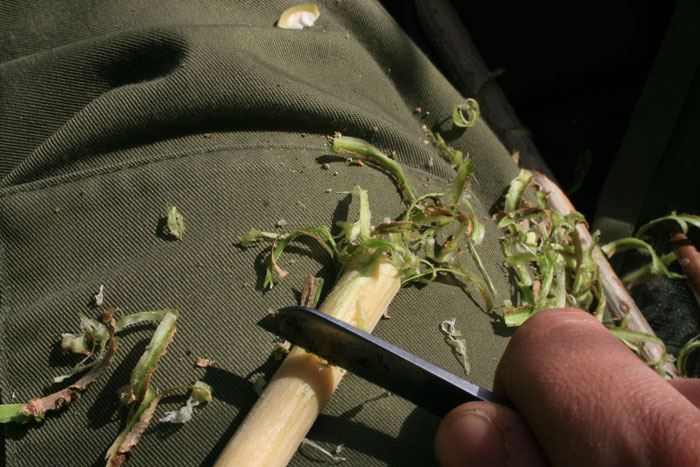
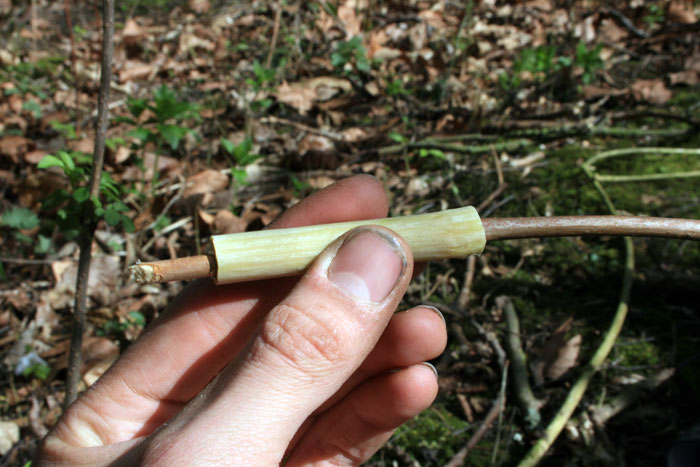
Scrape the bark off. |
 |
|
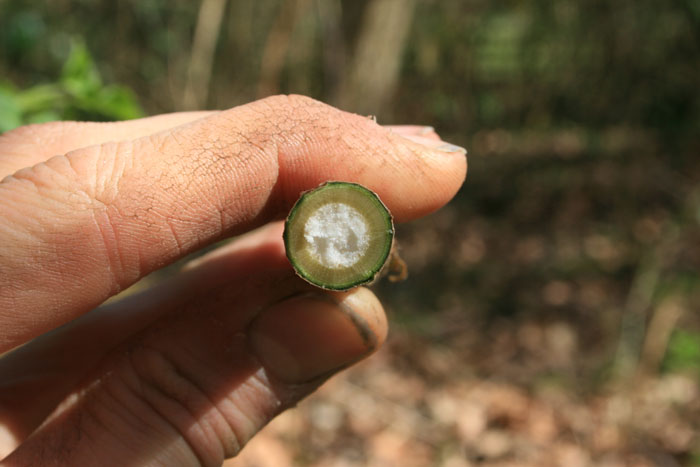
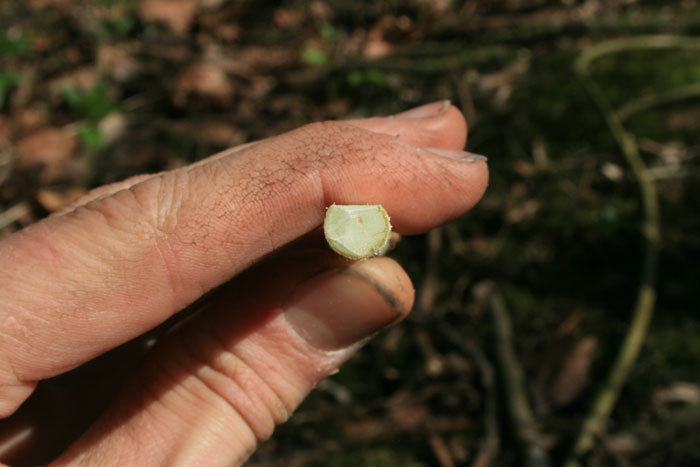
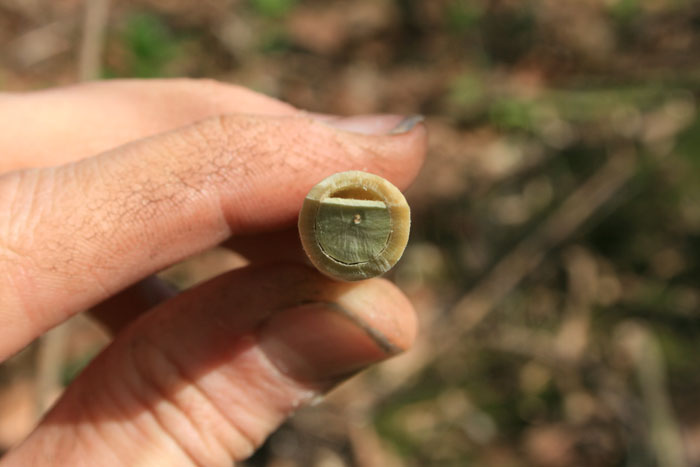
| Push the pith out and scrape the inner walls with a small stick until totally free of pith. |
 |
|
 |
 |
|
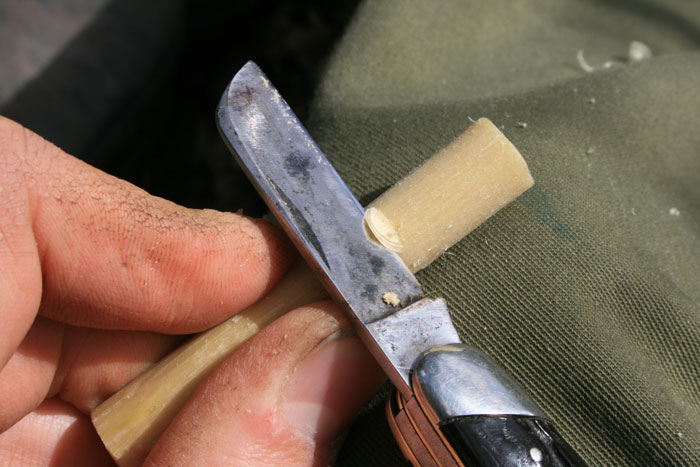
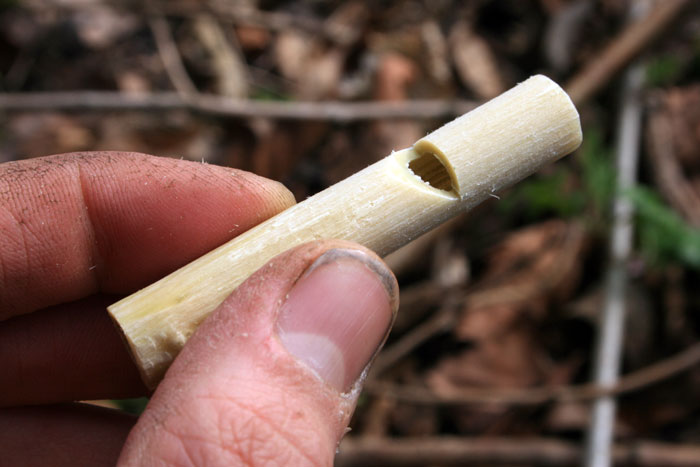
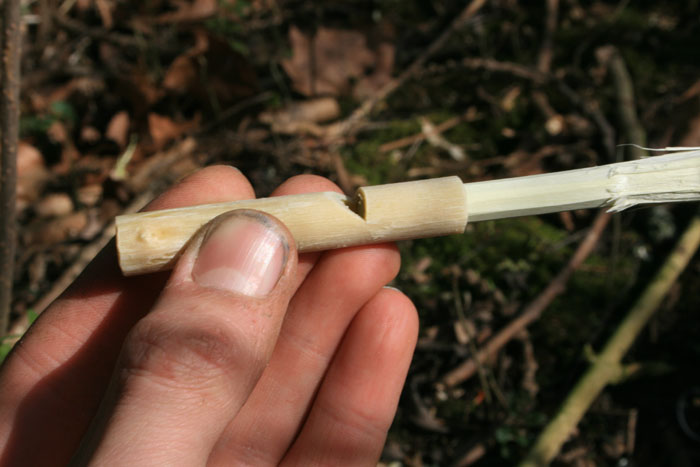
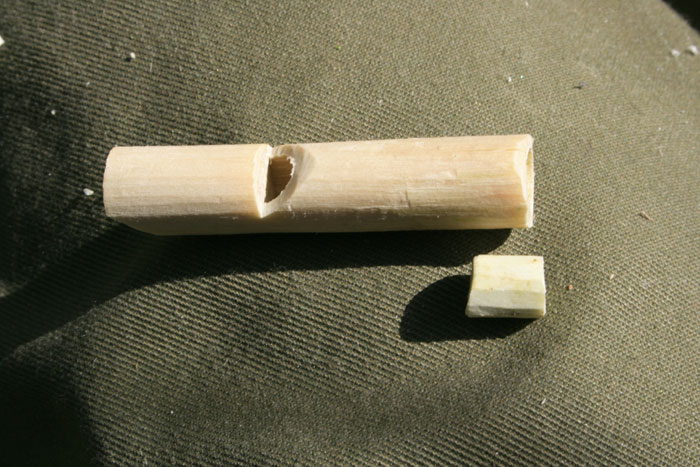
| About 2cm in from the end you need to cut a notch in the whistle, a few cuts at 90 degrees and then some more at 45 degrees. The pictures explain it all... |
 |
|
 |
 |
|
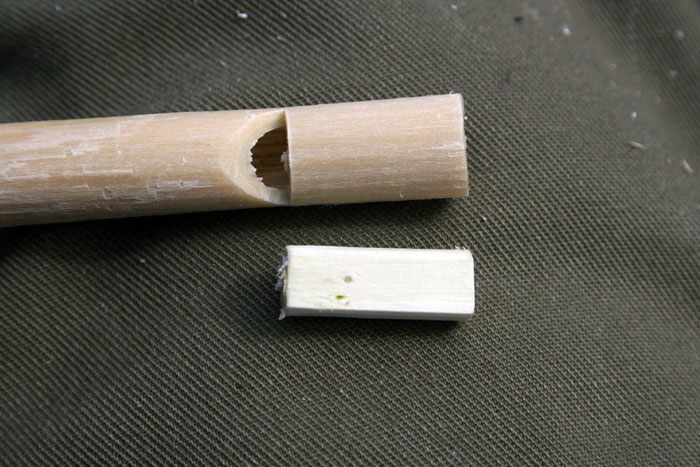
| Now you need to make a small piece of wood to fit into the mouth end of the whistle. Carve a stick down to make a dowel the correct diameter to fit the inside. Keep testing how well it fits until you have it perfect. |
 |
|
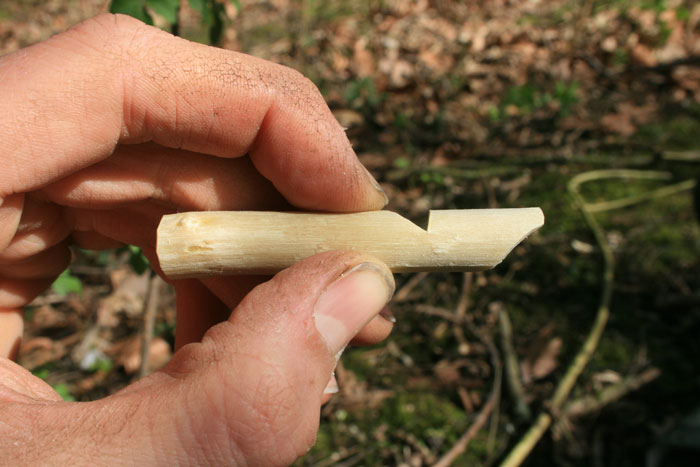
| So that there will be a small gap for air to pass through towards the notch, a shaving or two of wood needs to be taken off the side of the dowel so that it has a flat side as shown. |
 |
|
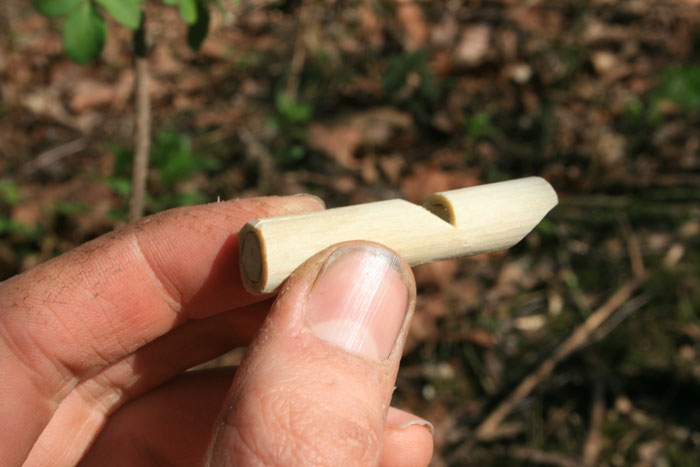
| Cut the small piece of dowel to the correct length; as
long as from the mouth end to the vertical cut of the
notch. The dowel should be a tight fit and will need no glue if it fits snugly. Fit the dowel so that when you blow through the small gap the air runs level with the notch. |
 |
|
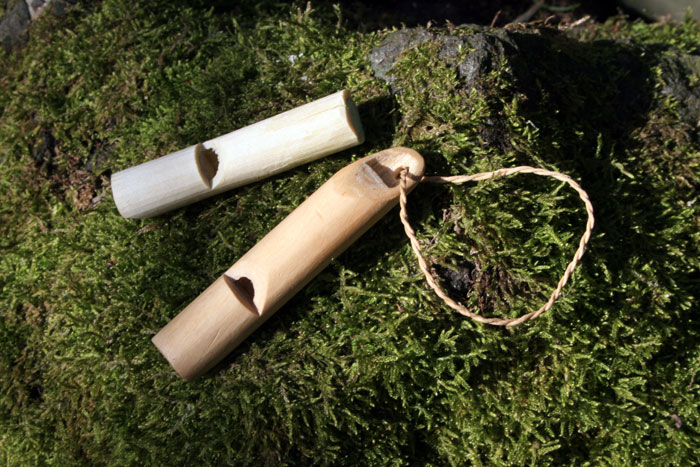
| Once you have fitted the dowel in the end you could carve the mouth end to a nice shape as shown, although this is not necessary. |
 |
|
| Here You can see how the air passage is created by
carving one side of the dowel flat. At this point you can test the whistle to see if you get a sound. Put your finger over the other end to block it, then blow. You should get a nice clear sound. |
 |
|
| If you get sound, you can now block up the other end of the
whistle with another piece of wood. Do the same as before but make it
totally air tight. Note: The smaller the sound chamber, the higher the pitch of the sound. |
 |
|
| Whistle complete... Have fun! |
 |
|
 |
||
|
|
||
|
|